
This has been one of my toughest learned lessons around the farm. Here are tips from myself and other professional market growers.
Fertilize the Soil Before Planting Seeds
Seedlings growing in already fertile soil often don’t need any added fertilizer. If you have a decently fertile blended soil, then there’s a pretty good chance you don’t really need much else to help your seedlings grow. This is a common approach among professional growers. What you want is a very fertile, high organic matter soil with a good natural microbiome.
I know several people who do it this way. Basically, if your seed-starting soil is at least one-third of rich, well-formed compost or moderately amended for the same level of fertility, then you shouldn’t need anything else added until you plant your seedlings in the ground. That can be hard to estimate. How on earth do you know how much natural fertility is in your soil? Well, one way, and the way I like, is to have it tested by a professional lab. I’ll talk more about that in a minute.
Most growers just approximate based on their experience. You can add fertilizer before planting the seeds. I would recommend adding it at about 1/4 of whatever the label says to use, but that can be tricky to dose. Many fertilizer directions are calibrated for large gardens, not potting soil. Although I don’t really recomend it, a 10-10-10 fertilizer can be used at one heaping tablespoon per cubic foot of potting soil pre-planting.
I just fertilized the soil of my second youngest daughter’s flower box. I added my new favorite fertilizer, TRIFECTA+. It has instructions for seedling use. Just 3 tablespoons per gallon of soil. Hers is about 10 gallons, so we added around 2 cups of TRIFECTA+ fertilizer.
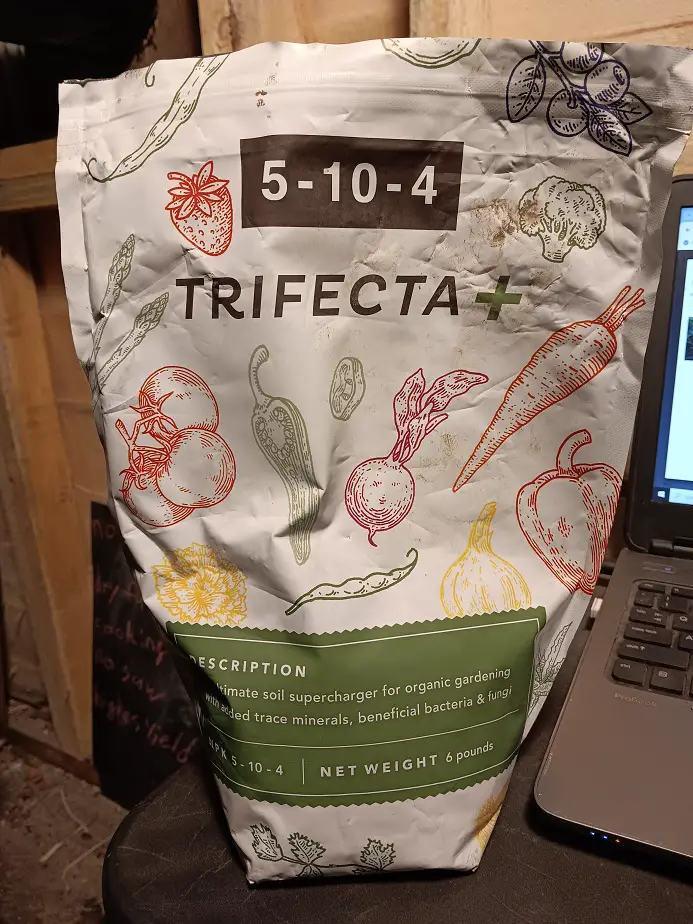
I really do recommend TRIFECTA+ as a general-use garden fertilizer. It’s perfect for small-sized operations and has the absolute best combinations of minerals, plant materials, and microbiology.
Wait Until True Leaves Appear
Don’t fertilize anything until after you see the first set of regular leaves on your seedlings. The first leaves that form are not true leaves. They are just part of the later germination stage. When the genuine leaves show up, the plant may need some added fertility so it’s common to fertilize at this time. Fertilizing before that causes a lot of trouble quite often.
It usually only takes one or two weeks for the real leaves to replace the newborn seedling leaves. At that point, the seedling is a lot less susceptible to fertilizer stress. Before this, seedlings don’t need anything much and they hardly take any nutrients in yet.
The first set of leaves are called Cotyledons. They are smooth, lacking much shape or texture, and generally rounded and oblong. Shortly after seeing them, another set of leaves will form. These true leaves have shapes and textures that resemble the mature leaves of the plant even at a very young stage.
Check Soil Before Fertilizing
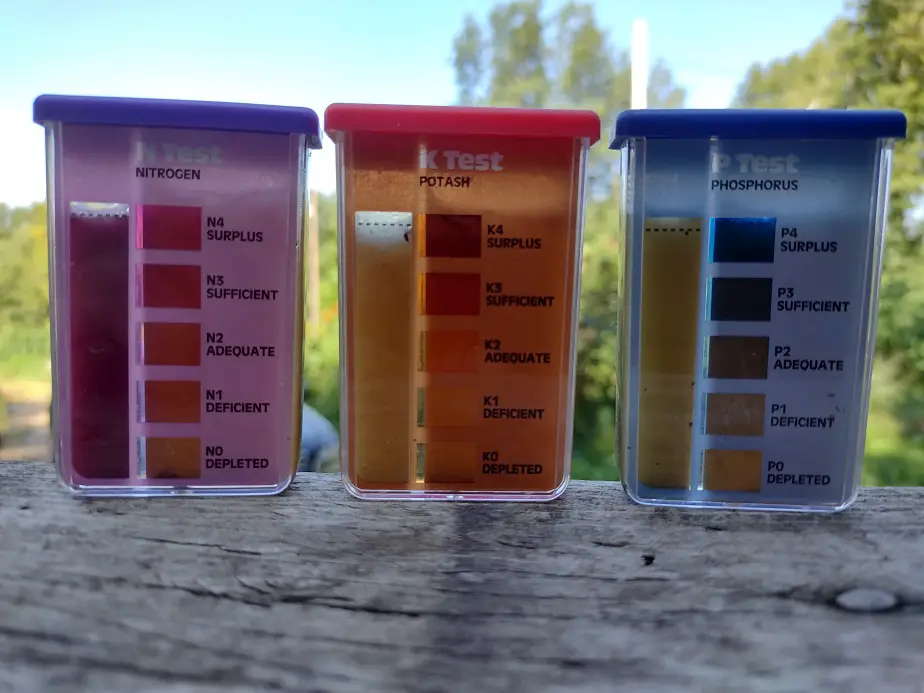
Checking and testing your seed-starting soil is a very useful step that most home growers neglect. If you test your soil, you will know just how much fertility is already in it. I took several soil samples for the Redmond Soil Test Kit. It’s my favorite kit and I get to send my sample away to the lab for detailed reporting. It shows the fertility in Parts Per Million.
I like to see around 30 PPM each of nitrogen and potassium, and around 10 ppm of phosphorus in my seed-starting soils. That’s moderately fertile but not incredibly fertile. It seems to work pretty well for me. That’s approximately half, or a little less, of the soil fertility that I like to see in my garden soil on a good day. More fertility than that wouldn’t hurt if it’s in a natural state.
Adding a lot of synthetic fertilizer before planting can end up burning the roots of your seedlings. Organic fertilizers are gentler and once the fertilizer has been converted to an organic form through some plant or microbial function, it’s much safer and much more stable for your seedlings.
Start with a Mild Liquid Fertilizer
I have found that a liquid solution is the simplest way to introduce fertilizers to seedlings. It’s fast, efficient, and easy to evenly distribute across trays full of seedlings. It also helps prevent over-application and fertilizer burn. A mild solution is handy because you can use it often, further reducing stress on seedlings. Using a stronger fertilizer less often tends to cause plant damage.
The two most popular liquid fertilizers are a fish emulsion and Miracle-Gro mixed with water. I personally won’t use Miracle-Gro because I don’t particularly like the NPK ratios they offer and because It’s owned by the MONSANTO corporation and I don’t like that organization. I have used synthetic fertilizers like Urea, Tripple Super Phosphate, and Murate of Potash.
I have used a basic 10-10-10 fertilizer and that works. I would use something near that strength at 2 teaspoons per gallon of water. It will dissolve if you let it sit a while and stir or shake it a little bit. I would apply it once a week. If you see visible signs of deficiency, do it twice a week and remember to start with a more fertile soil next year.
Use Broad-Spectrum Fertilizer
Use a broad-spectrum fertilizer instead of a simple NPK or single ingredient. organic fertilizers are the winner again, because most of them are very well balanced in their mineral profile. Blood meal has decent zinc, magnesium, iron, and sulfur. They are often lacking in most potting soils and fertilizers. Alfalfa meal has an even wider selection of trace minerals within its fertilizer compounds.
I do like both a lot. They’re a great combination to feed both the plant, and more importantly, soil microbiology that in turn feeds the plant. Again, I’m going to bring up TRIFECTA+ (Amazon link here) because it’s a very well-designed fertilizer. It’s not organically certified, but it’s made for organic-style gardening. It’s not good for dissolving in water, but it’s amazing to mix in the soil before planting.
Organic Fertilizers Generally Work Better
Organic fertilizers generally work better because they tend to be more balanced, milder, longer-lasting, and slow-release. They also contain natural sugars and proteins that feed the soil the beneficial symbiotic microbes for an actual boost in genuine fertility and plant health. This is something I’m really learning about. Just how soil microbiology affects plant vigor, growth, immunity, and even the nutrition of the produce I grow.
It’s quite an interesting study that many people today are trying to ignore it seems. If you want to know more about soil, health, check out The Modern Homesteading Podcast. My friend Harold who hosts it is a soil health expert. Here’s one of my favorite podcast episodes he has on soil health.
Apply Fertilizer Evenly
If you do fertilize a tray full of seedlings, it needs to be done evenly and consistently otherwise you’ll get some seedlings without enough and some that will likely have fertilizer damage to the roots and leaves. It can even kill off soil microbiology. The simplest way to do this is with a watered-down liquid solution and a watering can with a rain head (sprinkler end) on it.
My favorite is the GroundWork 2.5-gallon plastic watering can. It has the best, most even sprinkle pattern I’ve found yet. It’s cheap too. I have used an old ketchup bottle and just given each plant two or three squirts of fertilizer water. That works great for smaller numbers of plants, but I had to stop when I started doing higher numbers.
Use Low-Doses, and Often
Seedlings and soil microbiology are both quite sensitive to strong chemical compounds. It’s always smart to fertilize seedlings at a low dose if needed. Most nursery operations fertilize weekly, or twice weekly at a half-dose. Most garden fertilizers have directions on how much to add per 100 square feet. You can add that amount to 25 gallons of water and use it to water your seedlings once a week.
Or, you can add 1/5 that amount for 5 gallons of water. That’s a pretty simple way to keep the dosage mild for regular use.
Avoid Over-Fertilizing
Fertilizing too much, even just a bit, can cause issues. The most common is simply unbalanced plant mineral availability which throws off the balance of growth and vigor. When I say vigor, I’m talking about strength, immunity, and avoidance of pests. When you use too much nitrogen, the plant tends to grow longer, weaker cells.
That makes them less capable of storing minerals and more prone to damage. I have seen significantly more disease in my somewhat over-fertilized production crops. When the plant has weaker skin and flesh and it isn’t photosynthesizing well, it’s just going to get sick.
Ironically, slightly under-fertilized plants always seem to be stronger and tougher than slightly over-fertilized plants. When in doubt, it may be better to wait for a visible or measurable symptom of plants lacking fertility before fertilizing again. Regular soil tests help. I have almost completely quit doing my own testing and just use the Redmond Soil Test.
Monitor Plant Color and Growth
Chances are you can recognize an obviously healthy plant and an obviously under-fertilized plant. Some lesser signs are not so easy to spot. For example, true of most tomato varieties: A slight deficiency in phosphorus is observed by rigid leaves and a purple hue on the stem and underside of the leaves.
Generally, any yellowing and overall weak appearance is a lack of fertility uptake in the plant. That could and often does mean there isn’t enough fertility in the soil.
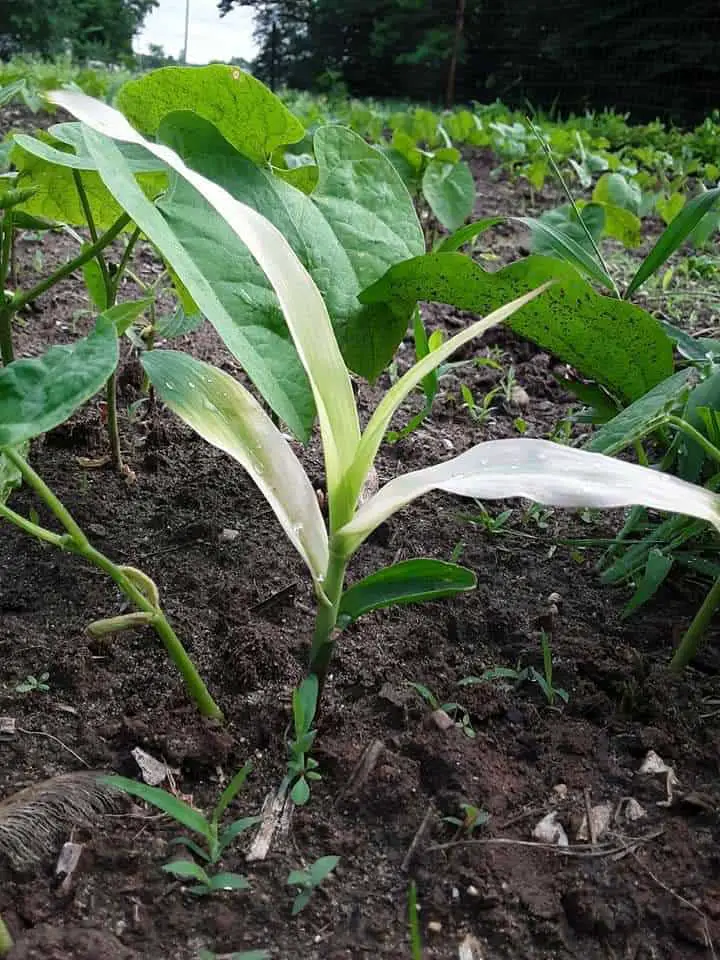
This picture shows corn with a rather extreme nitrogen uptake deficiency. It was from a combination of low available nitrogen and very wet soil I had to correct that area heavily.
Choose a Fertilizer with Trace Elements
Using an NPK-only fertilizer tends to throw off the balance of mineral uptake within plants. The last 50 years, the idea of “NPK is all you need” kinda took off. Unfortunately, that was to the detriment of growers, farmers, and gardeners. It takes an assortment of minerals to feed both plants and beneficial soil microbes.
That’s why I’m really jumping on the organic fertilizer bandwagon. It’s just naturally a more balanced, more full assortment of plant and soil food. The soil is what feeds your plants. Feed your soil like you fed yourself, with a variety.
Reduce Fertilizer in Low Light
If you are keeping seedlings in a lesser-light situation, as is common with home gardeners, consider reducing fertilizer a bit. Plants in a lesser-than-natural lighting setting will not need as much mineral uptake. This is something that is paid attention to more with commercial growers, but it can be useful for the small-scale operations too.
It’s less of a tip really and more of a reassurance. You probably don’t need a full regimen of fertilizer. So don’t worry too much. You’re probably doing fairly well with fertility.
Consider Foliar Feeding
Foliar feeding is a great way to get nutrients immediately to plants. If you do suspect a severe mineral deficiency, foliar feeding can boost it up within 12-24 hours of application. a foliar feeding is just a stronger and finer application. I use a misting spray bottle that throws a fine most, and wet the leaves thoroughly until they start dripping slightly.
For seedlings, I would use a solution twice as strong for foliar feeding. It’s smart to water the plants shortly after. That way, any unabsorbed fertility still on the leaves can be rinsed off and drench through the soil.
Record Your Fertilization Schedule
Having a regular fertilizing schedule is helpful to maintaining fertile soil, and decent plant health, and it helps you remember to do it. If you record your fertilizer applications, you will be able to learn how your plants respond to fertilizers and what fertilizers they like more than others. I like to record things like fertilizer type and strength, application method, the day and time of day, and any notes about the plant’s reaction to the fertility application.
If you do that, you will learn more than most gardeners aver understand about fertilizers and how your plants feed and thrive, or become harmed by them.
Watch for Signs of Deficiency
Signs of fertilizer deficiency include Off-color, off-shape, and poorly conditioned plants. Leaves or stems that don’t look normal and an overall stunted appearance are classic signs of fertility deficiency in plants. The most common coloration ques are yellowing or whiting colors on plant leaves. New growth leaves are particularly vulnerable to off-coloring.
It can look like blotting, streaking, or overall bleaching and it’s usuall;y first noticed in the outermost tender portions of the leaf. The most common minerals found to be deficient in the US are:
- Nitrogen
- Phosphorus
- Potassium
- Magnesium
- Iron
- Boron
- Calcium
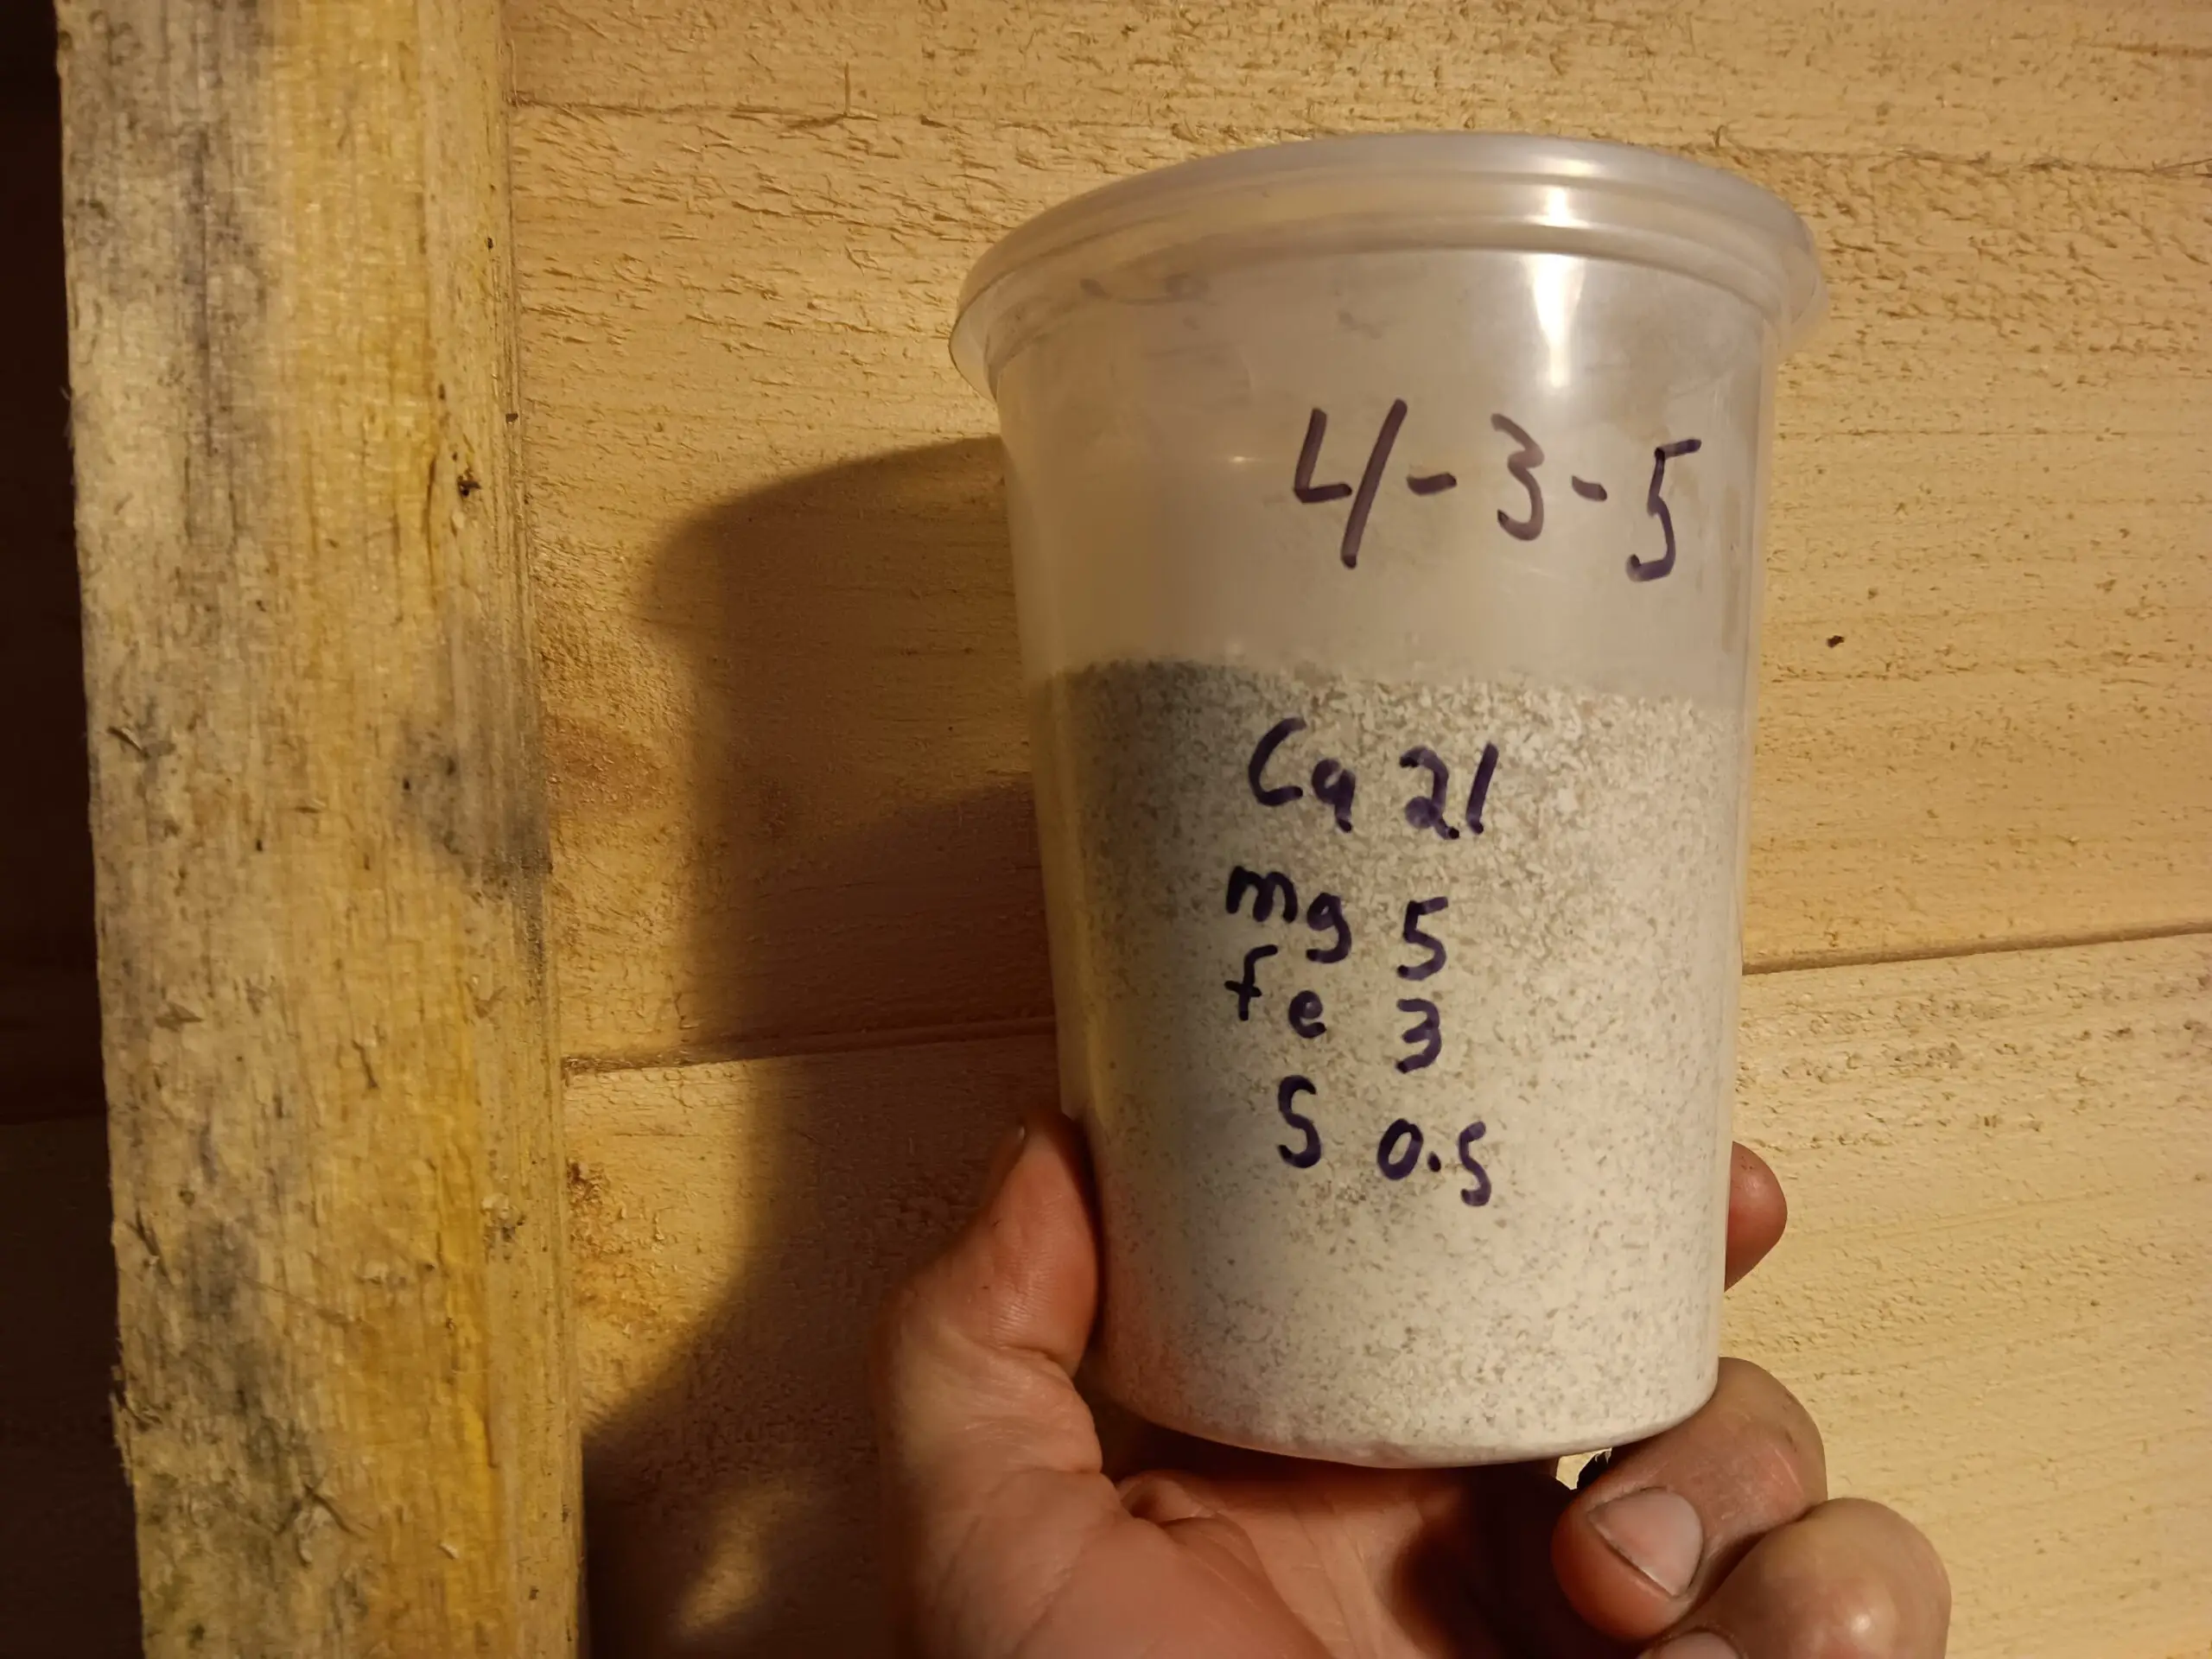
A well-rounded fertilizer like TRIFECTA+ has all those in a balanced ratio for healthy soil. It may become the only actual fertilizer I ever buy again. Of course, I’ll still use out pig, chicken, and rabbit manure. Plus our heaping pile of compost. But for legitimate fertilizer, I’ll probably stick with TRIFECTA+ and probably only for my seedlings.
Related Articles: