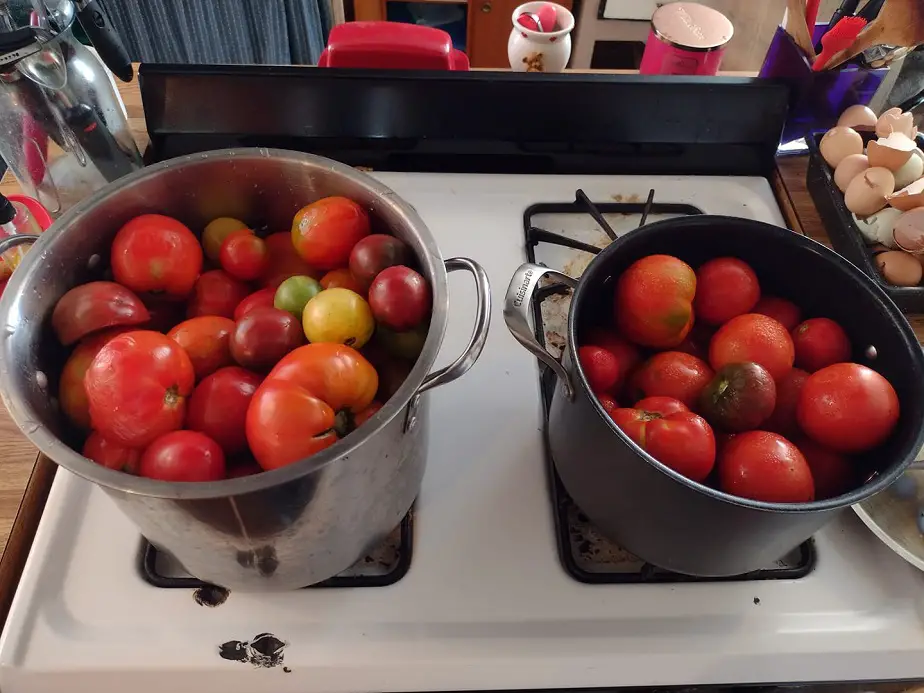
Home canning can seem expensive or tricky, but it’s neither. My wife and I can a lot of meats and produce using very simple methods and cheap equipment.
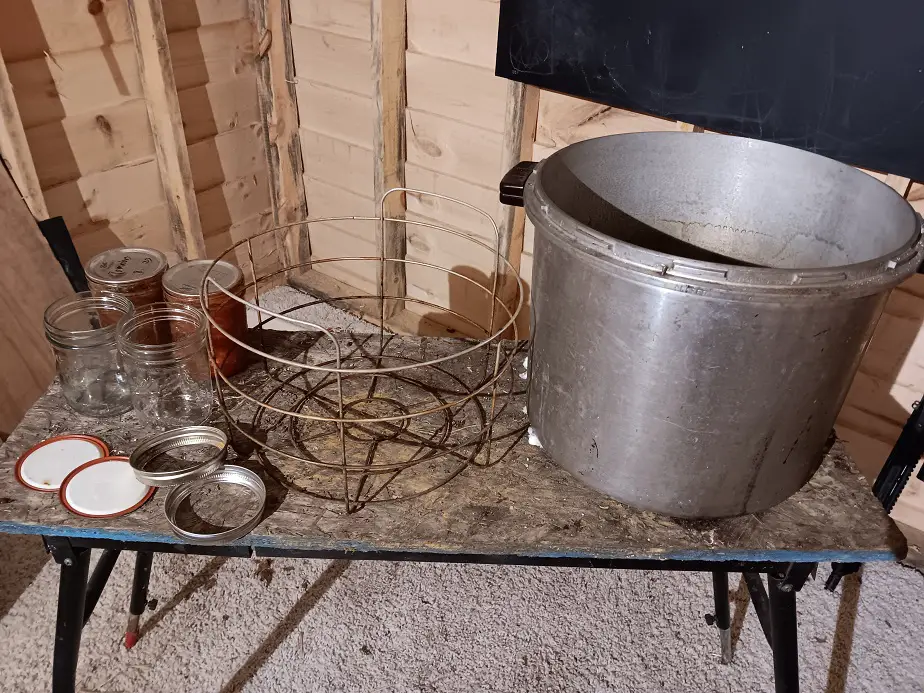
To start home canning, all you need is a large pot, jars with sealing lids, and a rack or trivet to keep the jars from sitting directly on the bottom of the pot. Other accessories like a jar grip, lid lifter, and headspace checker can be helpful but are not needed. Canning is a simple process that kids and adults can do.
What Equipment do I need to Start Canning?
To start canning in the simplest sense, all you need is a pot that will boil water and will hold enough to cover the jars, and you need some sort of air-tight sealing jar or can. There are different types and different methods, but let’s focus on the most simplistic and easy to do of all.
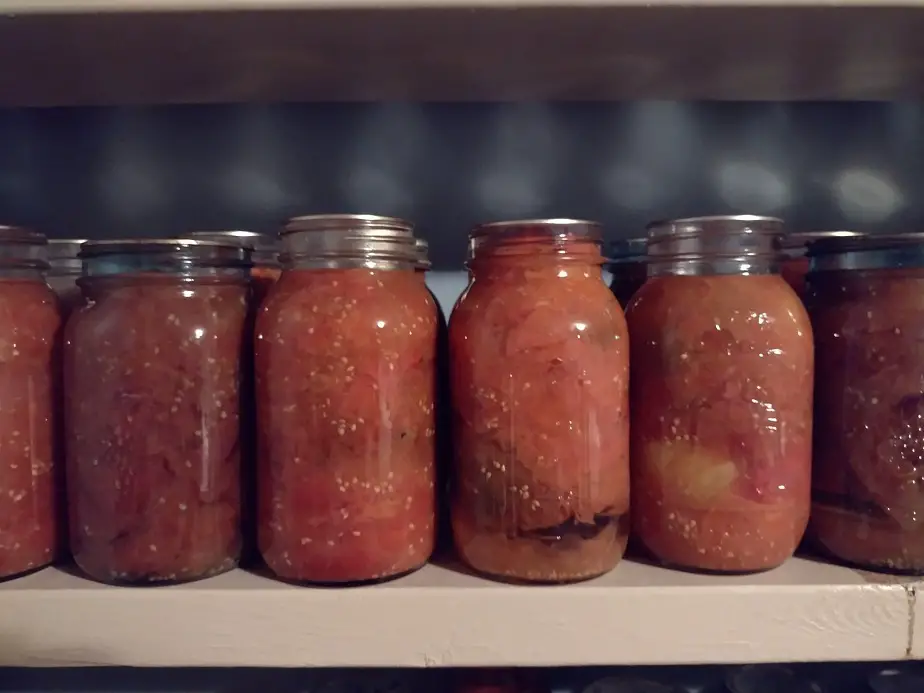
It’s called Water-Bath Canning. This process uses a pot of boiling water to sterilize the contents of a jar, and to create a heat-induced vacuum which causes the lid to seal tightly and to reduce the oxygen in a jar by about 50 percent. Less oxygen means the quality of food will be preserved for longer.
Here’s how it all works. It’s easy to understand how heat sterilizes things. That’s simple enough. The vacuum is created as the air inside the jar heats up and expands. If you could watch closely without getting steam in your eyes, you’d see little air bubbles coming out of the lid as it’s heated.
So, the lid goes on not finger tight and not super tight. The lids are designed with a little squishy seal that will let air out as it expands with heat. As the contents of the jar cool, the lid gets sucked down against the squishy seal and it creates a snug, airtight vacuum seal. The jar will have less pressure in it than the outside air which keeps the lid on tight.
That’s the science to home canning with any method that uses glass jars. Now, all you need to do is get a decent pot, some proper lids, and get cooking; sort of. The different methods all have different safety requirements, and there are different types of jars and lids. It can be confusing, so Here’s the simplest form.
- Get these jars and lids from Amazon: BALL pint canning jars with lids
- Get this pot from Amazon (although it’s cheaper if you go to Menards): Granite Ware canner w/rack
- Possibly, get this canning accessory kit from Amazon (also cheaper at Menards): canning tool kit
If you already have a large pot, Consider this canning rack w/tool kit on Amazon: Canning rack w/tool kit. The rack is 11-1/2 inches wide and will for fine in any 12-inch or wider pot.
There Are Different Terms for Different Canning Methods
The canning method I’m talking about here is most commonly called water-bath canning. It’s also known as kettle or open kettle canning.
The other methods which are considered safe and very hard to mess up are steam canning (comparable to water-bath canning), and pressure canning. There is also a set of terms called dry canning and wet canning. All recommended practices are wet-caning. That is, canned goods are packed in liquid.
Dry canning is not adding liquid to a jar before processing. This alters the way heat transfers through the jar and makes the standard canning timetables not suitable. Although it can be safely done, it’s not recommended because it takes longer and therefore easier to do wrong if you accidentally cut the time short.
It’s also something that the USDA never ended up testing or setting up a standard for. I’ll leave it at that for now.
These are the Standard Safe Methods that apply to all the standard home-canning timetables.
- Water Bath Canning: processing jars by immersing in a pot of boiling water.
- Steam Caning: processing by hot steam in a purpose-built steam canner.
- Pressure canning: processing with pressurized steam in a pressure cooker or pressure canner.
Best Pot for Home-Canning
Absolutely any pot works for canning as long as it holds jars and a rack or trivet to keep the jars off the bottom of the pot. Direct heat can cause the jars to get heat fractures. my favorite pot was the Graniot Ware 21.5 qt pot. My wife inherited her grandmother’s and we used it for years until it wore a hole in the bottom.
Now we mostly use our pressure canner (just a large pressure cooker) without the lid on for water-bath canning. It works. I also have used a regular pot with an upside down metal plate as a trivet to keep the jars off the bottom. It worked fine.
What Jars to Get?
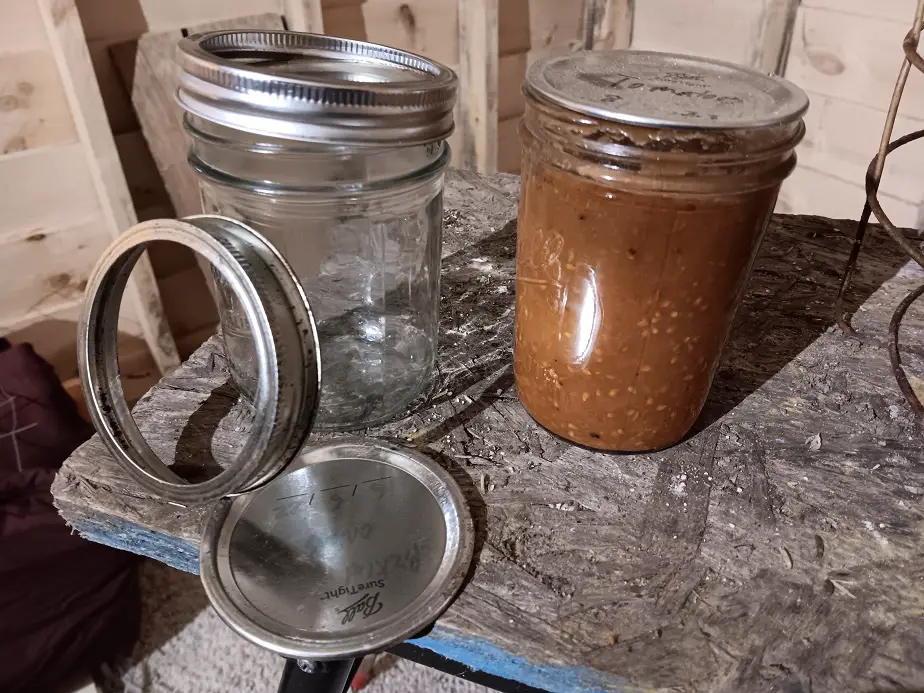
Any brand of jar that is compatible with the standard two-piece lid/ring system is recommended. They are simple to use and the easiest to find. Ball, Mason, and Kerr are the best-known brands and are considered the most reliable.
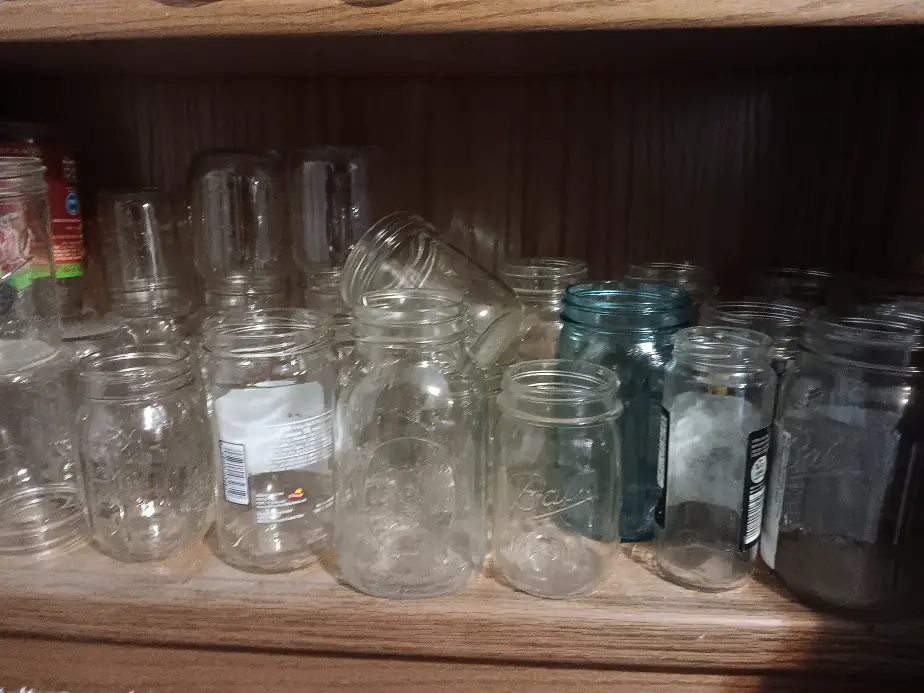
I have at least five different brands of jars, as well as many with no brand markings. Jars can be used forever until they crack. I will use any brand that I can get when we need more jars, it doesn’t really matter much. Most of what’s sold today is BALL brand jars and most jars have the same base pricepoint.
These all work on the 2-piece lid system and are all cross-compatible.
3 Different Styles of Canning Lids
Home canning lids can be the common 2-piece flat lid and rind, a one-piece lug lid, or the two-piece bail lid that goes with old-fashioned bail top jars. Only the 2-piece flat lid and ring system has been tested for safety and is recommended by the USDA. The others are mostly used by the Amish and Mennonites.
If you just go to a regular department store or grocery store, you will find the “tested and approved” lid style. I’ve only found the others by searching online and at an Amish grocery store near us. While they can safely be used, I normally just stick with the standard because it’s easy.
Jars and Lids Don’t Have To Be The Same Brand. You can mix a ball brand jar with a Golden Harvest lid. It’s fine. For the record, even though Golden Harvest brand lids are cheaper, I prefer them, as do our local Amish. They seem the same to me, but cheaper than name-brand.
I will say, before you get all into things, you need to familiarize yourself with general safe practices. My best advice is to get a copy of ‘The Ball Blue Book Guide to Preserving’. It’s cheap, and it will give you tons of insight into good practices and safe recipes. It’s the best place to start.
I know a fair bit about home canning, including the alternative methods. If you have any questions, ask in the comment section below. I’ll always see your comments.
Related articles: