
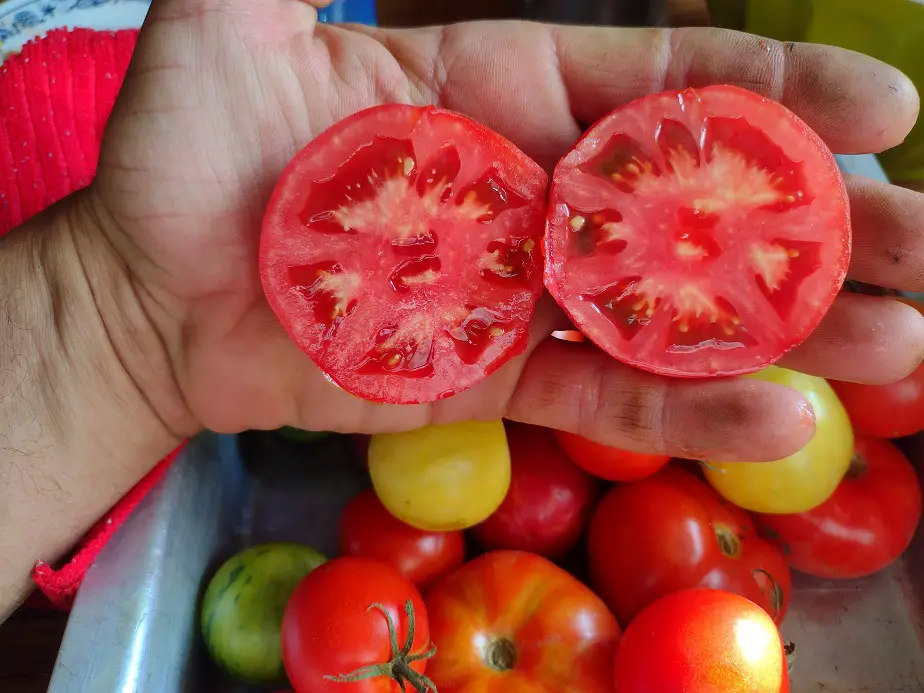
Tomatoes are often a challenge in cool climates. We usually grow a few hundred plants, and it keeps us pretty busy.
The vast majority of tomato plants in Michigan are started early and transplanted in the garden once the soil warms up. With good soil, you can harvest up to a bushel (50 pounds) of tomatoes from a healthy plant. Most home gardeners get closer to 5-10 pounds per plant. That’s a lot of room for improvement.
It truly is an art. While I don’t know everything, I’ll share with you what I’ve learned. At the bottom of the page, I’ll share links to items talked about so you can look at them.

Starting Tomatoes for Transplant
The industry standard tomato plant is 4-8 weeks old by the time of transplant, and 4-14 inches tall. If you have a good setup, you can start tomatoes indoors on the first of may and plant them outside at the end of the month. but, that’s only if you maintain perfect nursery conditions.
The most common issues with starting tomatoes indoors are not enough light, cool temperatures, and starting them too early. The classic temptation is to grow your seedlings in pots on a window sill. Trouble is, even if the window gets full southern exposure, it’s going to be cold and drafty.
Tomato plants don’t grow well under 65 degrees, and much prefer 70 degrees for both root and plant growth. I much prefer starting them under artificial light. I use a classic fluorescent shop light hung over a shelf in the warmer part of our living room. If you use bulbs with a mid-spectrum light, it works well.
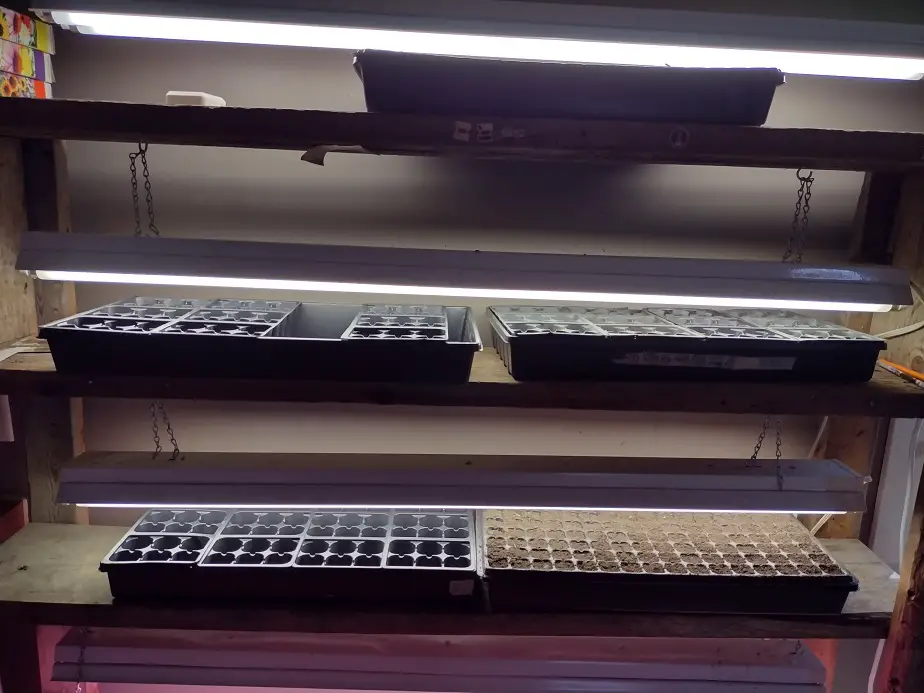
This year, I used some LED plant bulbs for my shop light. It made a small but noticeable difference. If you use a light, be sure that it can go high enough to accommodate your plants. For me, a 4-week plant is about 4-inches tall if I kept them warm enough.
Use light, fluffy soil for starting tomatoes. I mix my own using equal parts dirt, compost, and peat moss. Using decent compost means I don’t have to fertilize the plants until they are transplanted.
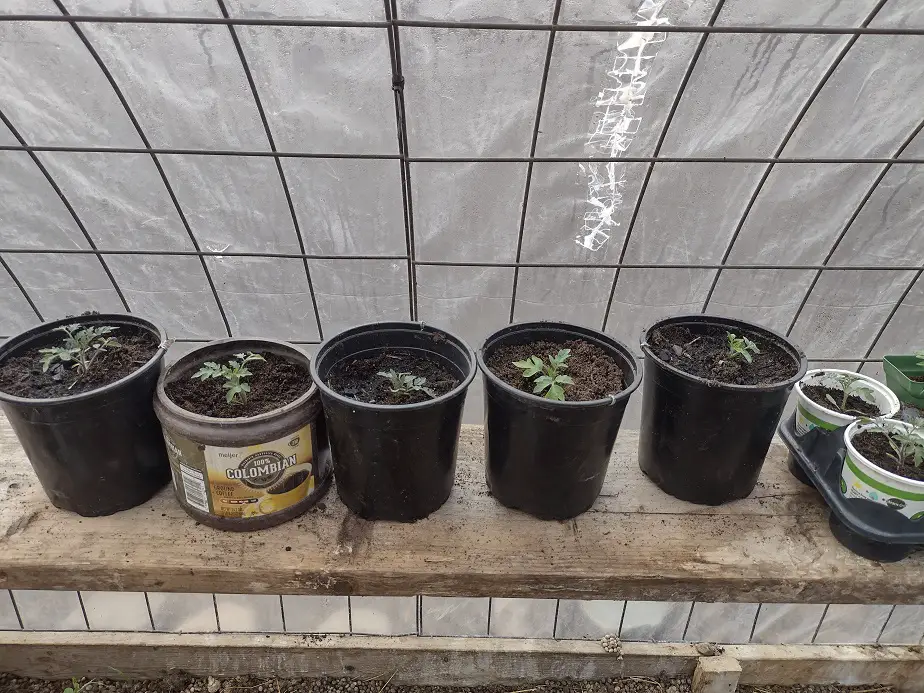
Best Pots to Start Tomatoes in
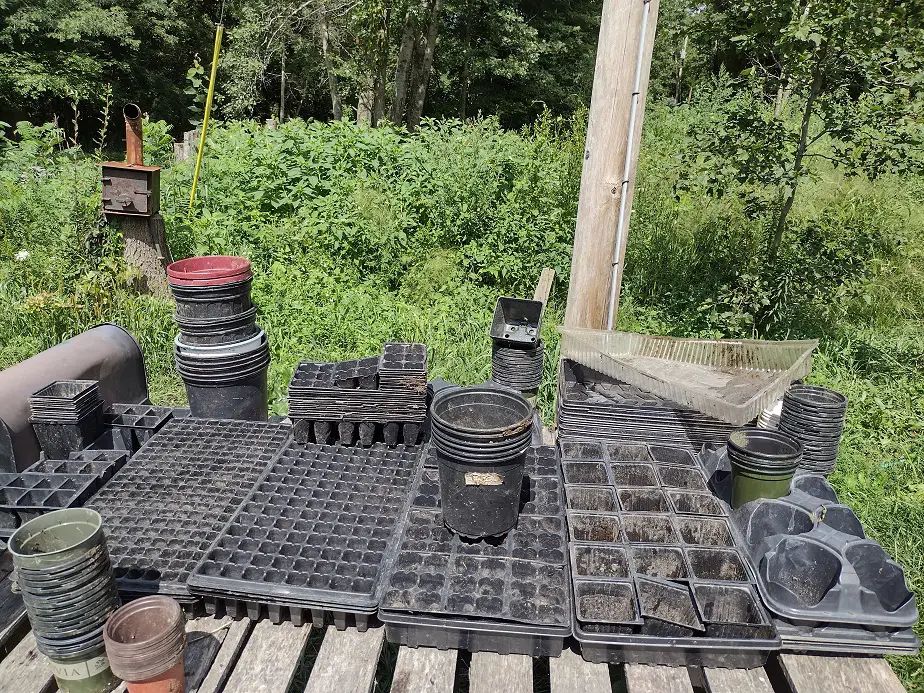
I recommend the basic, 18-cell seed starting trays like they sell at Walmart and Home Depot. For up to 8 week plants, they’re pretty good. They’re also cheap.
I start my tomatoes in 200 and 128-cell trays, which are quite small. When they are big enough, I move them into larger, 18-cell trays. You can just use these from the beginning and make it simpler for you.
I rarely recommend people start tomatoes earlier than 8 weeks before planting. If you were to start them 12 weeks early, they’re only going to fruit about a week earlier and have a much higher chance of early disease issues. If you go longer than that, the plants will want to grow but be lacking adequate sunlight and room to grow properly. Except for a high-end professional setup, an indoor seed starting operation is kinda like tomato life support. It gives them enough to keep going, but it’s quite short of thriving conditions.
I’ve seen a lot of gardeners selling tomato plants in the spring. Most of them look weak, spindly, and underfed. The bigger they are the worse it usually is. It’s very hard to equal the growing conditions of living soil, natural rain, and pure sunlight.
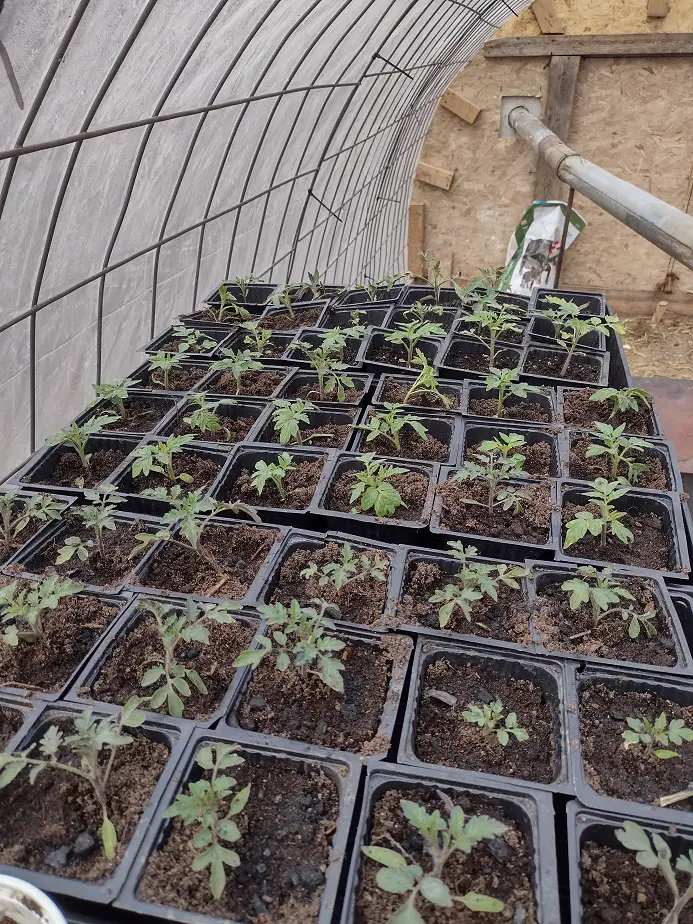
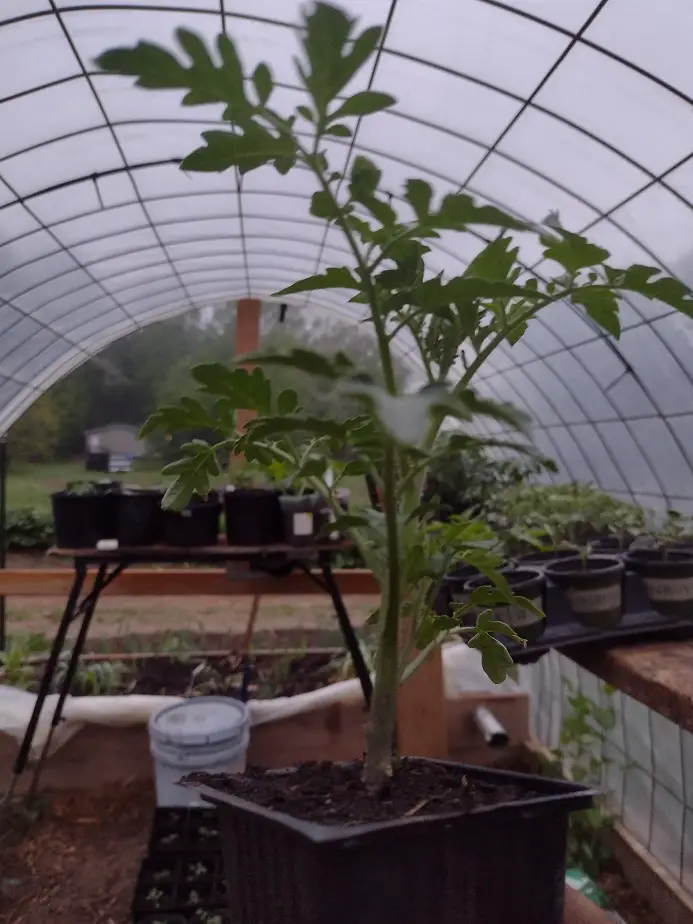
The more natural the growing conditions, the better the plants will be. I had hundreds of plants in a poly-covered hoophouse. It’s a cheap plastic and only lets about 45 percent of the sunlight through it. The quality of the light was still better than any grow light could create and the plants showed it.
Finally, so many people let their plants grow too long in little pots. Tomatoes naturally grow a deep taproot. When grown in pots, that central root often gets all bent around trying to dig deeper. If kept in a pot too long, the roots will become a tangled knot.
When you take a plant out of its pot, there should be a lot more soil than visible root. If a tomato starts to outgrow a pot, the roots become trained into a ball. It doesn’t allow the plant to adequately find water and nutrients. Roots need room to spread so they can seek out what they need in the soil.
If a plant starts to look a bit top-heavy, it’s high time to either plant it outside of put it in a significantly larger pot. It’s better to transplant them a bit small than a bit too big. The popularity of setting tomatoes extra deep when transplanting came from stunted, shallow root systems being so common.
When to Plant Tomatoes in Michigan
In Michigan, plant tomatoes outside between May 18 and June 10th, depending on weather and region. Wait until the soil temperature is 60 degrees in the morning and the threat of frost has passed. Fast-growing, determinate tomatoes, like 42 Day tomato, may be planted as late as July 20th and still get a harvest.
Please don’t rush starting or planting your tomatoes. Wait until the weather is good and ready for it. A friend of mine sells thousands of tomato plants each spring. He told me that if there’s a warm week in May, he’ll sell twice as many plants because people get spring fever, rush out to buy them, and lose them the next week in a frost. Wait until the weather is cooperating, not just faking you out.
Prepping the Soil for Tomatoes
Apply manure, compost, or other organic yard debris to the soil in the fall, and let it sit through winter. You can lightly till it in, and let the soil work non it until spring. I use about 50 pounds (10 gallons) each of rabbit and chicken manure per 25 row-feet.
That will condition the soil, and is usually enough to keep my plants fed all summer long. Amend your soil with organic material, quite a lot of it; grass clippings, leaves, hay, straw, compost, and even food scraps will benefit the soil. Feed the soil and let it do its thing. Soil is a fertility machine. Fuel it.
Clearly mark your planting area so you don’t walk on it. Compact dirt is less favorable for beneficial organisms and will end up less fertile. Avoid applying high-strength fertilizers to your soil. If you have to use fertilizer, get a weak one or water it down so it’s not strong.
Strong fertilizer stunts soil microbial life, and those little guys are what makes soil do everything that it does. Finally, leave it alone. Disturb your soil only when you have to in order to encourage more earthworms and other little critters to live there. They help keep soil functioning properly.
You will want to do a soil test, at least for basic nutrients so you know what’s going on down there. I highly recommend the Lusterleaf 1602 Soil Teas Kit. It’s cheap, easy to use, and easy to read the results of. You want a soil with a moderate or higher fertility for tomatoes. But don’t over do it.
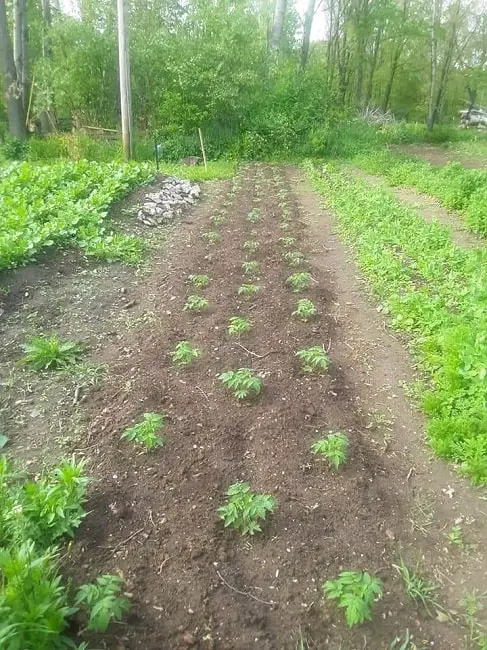
Choosing the Right Spacing for Tomatoes
Usually, tomatoes are spaced 3 feet apart. Closer spacing is preferred for plants that are heavily pruned and trellised up. Planting tomatoes too closely is related to increased issues with pests and disease. Except in strict professional conditions, I recommend 3 to 4 feet spacing.
I’ve tried a lo of different spacings for tomatoes, trying to pack in as many as I could. Any more, I will just let them have their space. The plants grow better and I have fewer disease and bug problems every year with the more spaced-out plants.
With compact plants, like Bealux, 42 Day, and Arctic Plenty, I will plant them 2 feet apart because that’s enough so they won’t grow together as long as each plant is supported or caged up. By the way, don’t use the funnel-shaped cages from the store, they are too small and topple over when plants get heavy.
I like using cattle panels as tomato plant supports. You can either weave plants through the fencing or use zip-ties (loosely) to secure vines to the metal frame. I’ve done it in two ways. Anchored the panels upright to fence posts, and bent over in an arch to form an arbor. The arbor gives taller support.
Maximizing Your Tomato Harvest
To maximize your harvest keep the plants well fed, well watered, and well groomed. By grooming, I mean pruning them a little. I like to keep multiple vines on a plant, but as they grow and are trained up, I prune off all the leaves on the lower foot of the plant. If the plant it starting to get overgrown, I prune more.
Pruning helps keep the plants healthy and concentrates growth in the right direction. It reduces fungal issues and keeps the plant from experiencing rot spots. Don’t over-fertilize. Use a soil test before planting, then again every month or two to monitor the soil nutrients. Fertilize only if fertility is running low.
Tomatoes are sensitive to overwatering, so water only when it’s needed. Wet feet causes tomatoes to get sickly. Tomatoes need a lot of sunlight, so keep that in mind when planting. They should get at least 8 hours of direct sun a day.
Dealing with Tomato Pests
- Blister beetle
- Tomato Hornworm
- Potato Beetle
Blister beetles are my biggest pest. They are resistant t almost all insecticides and are quite devastating to tomatoes. They eat the leaves, and when there are a lot of them, they can clean off a bed of tomatoes in a couple of days. The things I’ve found to work against them are the insecticide Spinosad, and sugar water.
Spinosad is an organically certified spray that kills all bugs quickly. I won’t use it personally. Sugar water, mixed 3 oz to a gallon of water, had a much better effect than I would have imagined. An entomologist recommended it to me to combat that type of beetle.
I sprayed the sugar water on my plants first thing in the morning moistening them well. The sugar is ingested by the beetles while eating the leaves, but the beetles can’t handle it. It ferments in their gut, causing gastrointestinal problems and death. Sounds weird but hey, it worked.
You can walk through and squish them by hand, but it can cause blistering of the skin for some people. I seem to get away with it just fine.
Tomato Hornworm eats both leaves and sometimes green fruits. They are easy to pick off and don’t usually become a plague, but they eat a lot. Just keep an eye out for them. when tending your plants. No need to poison anything.
They can be hard to see because they bland un so well. If it’s getting to be a problem, get a cheap blacklight and go out at night. They show up better under a blacklight.
Potato beetles sometimes go after tomato leaves. They are almost as bad as blister beetles when there are a lot of them. For them, you can try the sugar water solution, and pick them by hand. If they are in the grub stage, a mild dish soap/water solution will usually kill them.
Michigan Tomato Diseases
Blossom End Rot
This isn’t actually a disease, it,s a circulation issue caused by a lack of water, or in rare circumstances, a lack of calcium. It’s common in plants that don’t get enough water and can happen if plants are watered with city water. Most well water in Michigan is quite high in calcium.
It’s characterized by a black, rotten-looking end on the bottom of tomatoes. If you see it, you probably just need to water more. If you aren’t sure about having enough calcium, a professional soil test (usually $30) will tell you if it’s lacking. Thankfully, that’s pretty rare here in Michigan.
Early Blight
Early blight tends to hit well before the fruiting stage. It hits hard but most plants will get through it. It’s not really all that common and is rarely an issue if you don’t have weak plants.
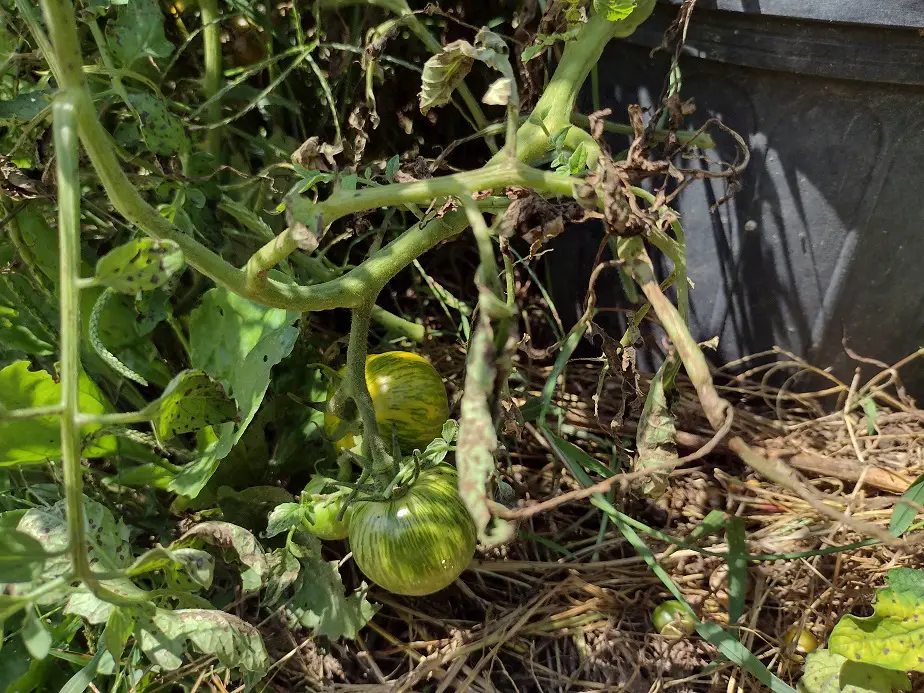
Septoria Leaf Spot
This one does the most damage. Identified by small spots on the leaves, it’s a fungal issue most common with an overgrown tomato plant. If you let a plant get overgrown in Michigan, it will probably get Leaf Spot. It’s especially damaging during an extended summer cold frond or prolonged wet weather.
If you keep your plants well groomed, and allow good air circulation all around, plants will often pull through. I’ve seen that over-fertilized plants are especially vulnerable to Leaf Spot.
Late Blight
Late blight comes near the season in Michigan. It usually marks an early end around September or October. For determinate varieties, it’s not really an issue because they’re usually done by that time anyways. If your plants die off early, pick the last green fruits. They’ll ripen up on the kitchen counter.
There are two main treatments for all of these. One is to use a copper fungicide. Copper is considered organic, but it will hurt the soil biology significantly if you overdo it. That’s the last resort. Use them according to the directions on the bottle.
Alternatively, a baking soda/water solution can help take the edge off so the plant can get over it. use the recipe from MIgardener:
- 1 gallon of water
- 2 tablespoons baking soda
- 3 drops dish soap
- 3 tablespoons vegetable oil
Mix the baking soda into warm water until dissolved, then add the other ingredients. I like to use olive oil because it has antifungal properties, but I don’t know that it had any special effect in the solution.
Fertilizing Tomatoes
Tomatoes use a significant amount of plant nutrients. Discoloration can be a severe sign of nutrient deficiency. On most varieties, a purple tone on the stem and leaves indicates low but not deficient soil nutrient levels. Yellowing (not browning) on leaves is a sign of extreme nutrient deficiency.
Tomatoes use up to 200 or so pounds of nitrogen per acre. In standard field soil (moderate quality at best) up to 250 pounds of nitrogen per acre is recommended per season. Why do you need to know that? because that’s a little more than corn usually calls for. In other words, it’s a lot.
If your soil tests low in either nitrogen, phosphorus, or potassium (use the soil test kit), Add some fertilizer. The simplest method is to add a rounded teaspoon of miracle grow per plant, sprinkled around, then lightly watered in. After a month, test the soil again and see where it’s at. Repeat if necessary.
For a 10-10-10 or similar strength fertilizer, use a level tablespoon per plant. You can use manure tea or strong compost tea, but that takes a lot of trial and error to learn to use it right. Even then, using it is an educated guess.
I will say that regular Miracle-Grow is high in nitrogen, and is a better nutrient balance. 10-10-10, or another even number fertilizer, is quite high in phosphorus and moderately high in potassium. I hope that helps you make the best decision. Fish emulsion is an organic option if you just need to add nitrogen.
I really haven’t used a fish emulsion fertilizer so I’d just tell you to follow the directions and re-test your soil in a few weeks to check up on it.
Links to recommended products
- Shop Light w/ bulbs *fluorescent is getting hard to find. This one is an LED, 48-inch shop light that comes with grow light bulbs
- 1602 Soil Test Kit
- Cattle Panels (for trellising plants on)
Related Articles